
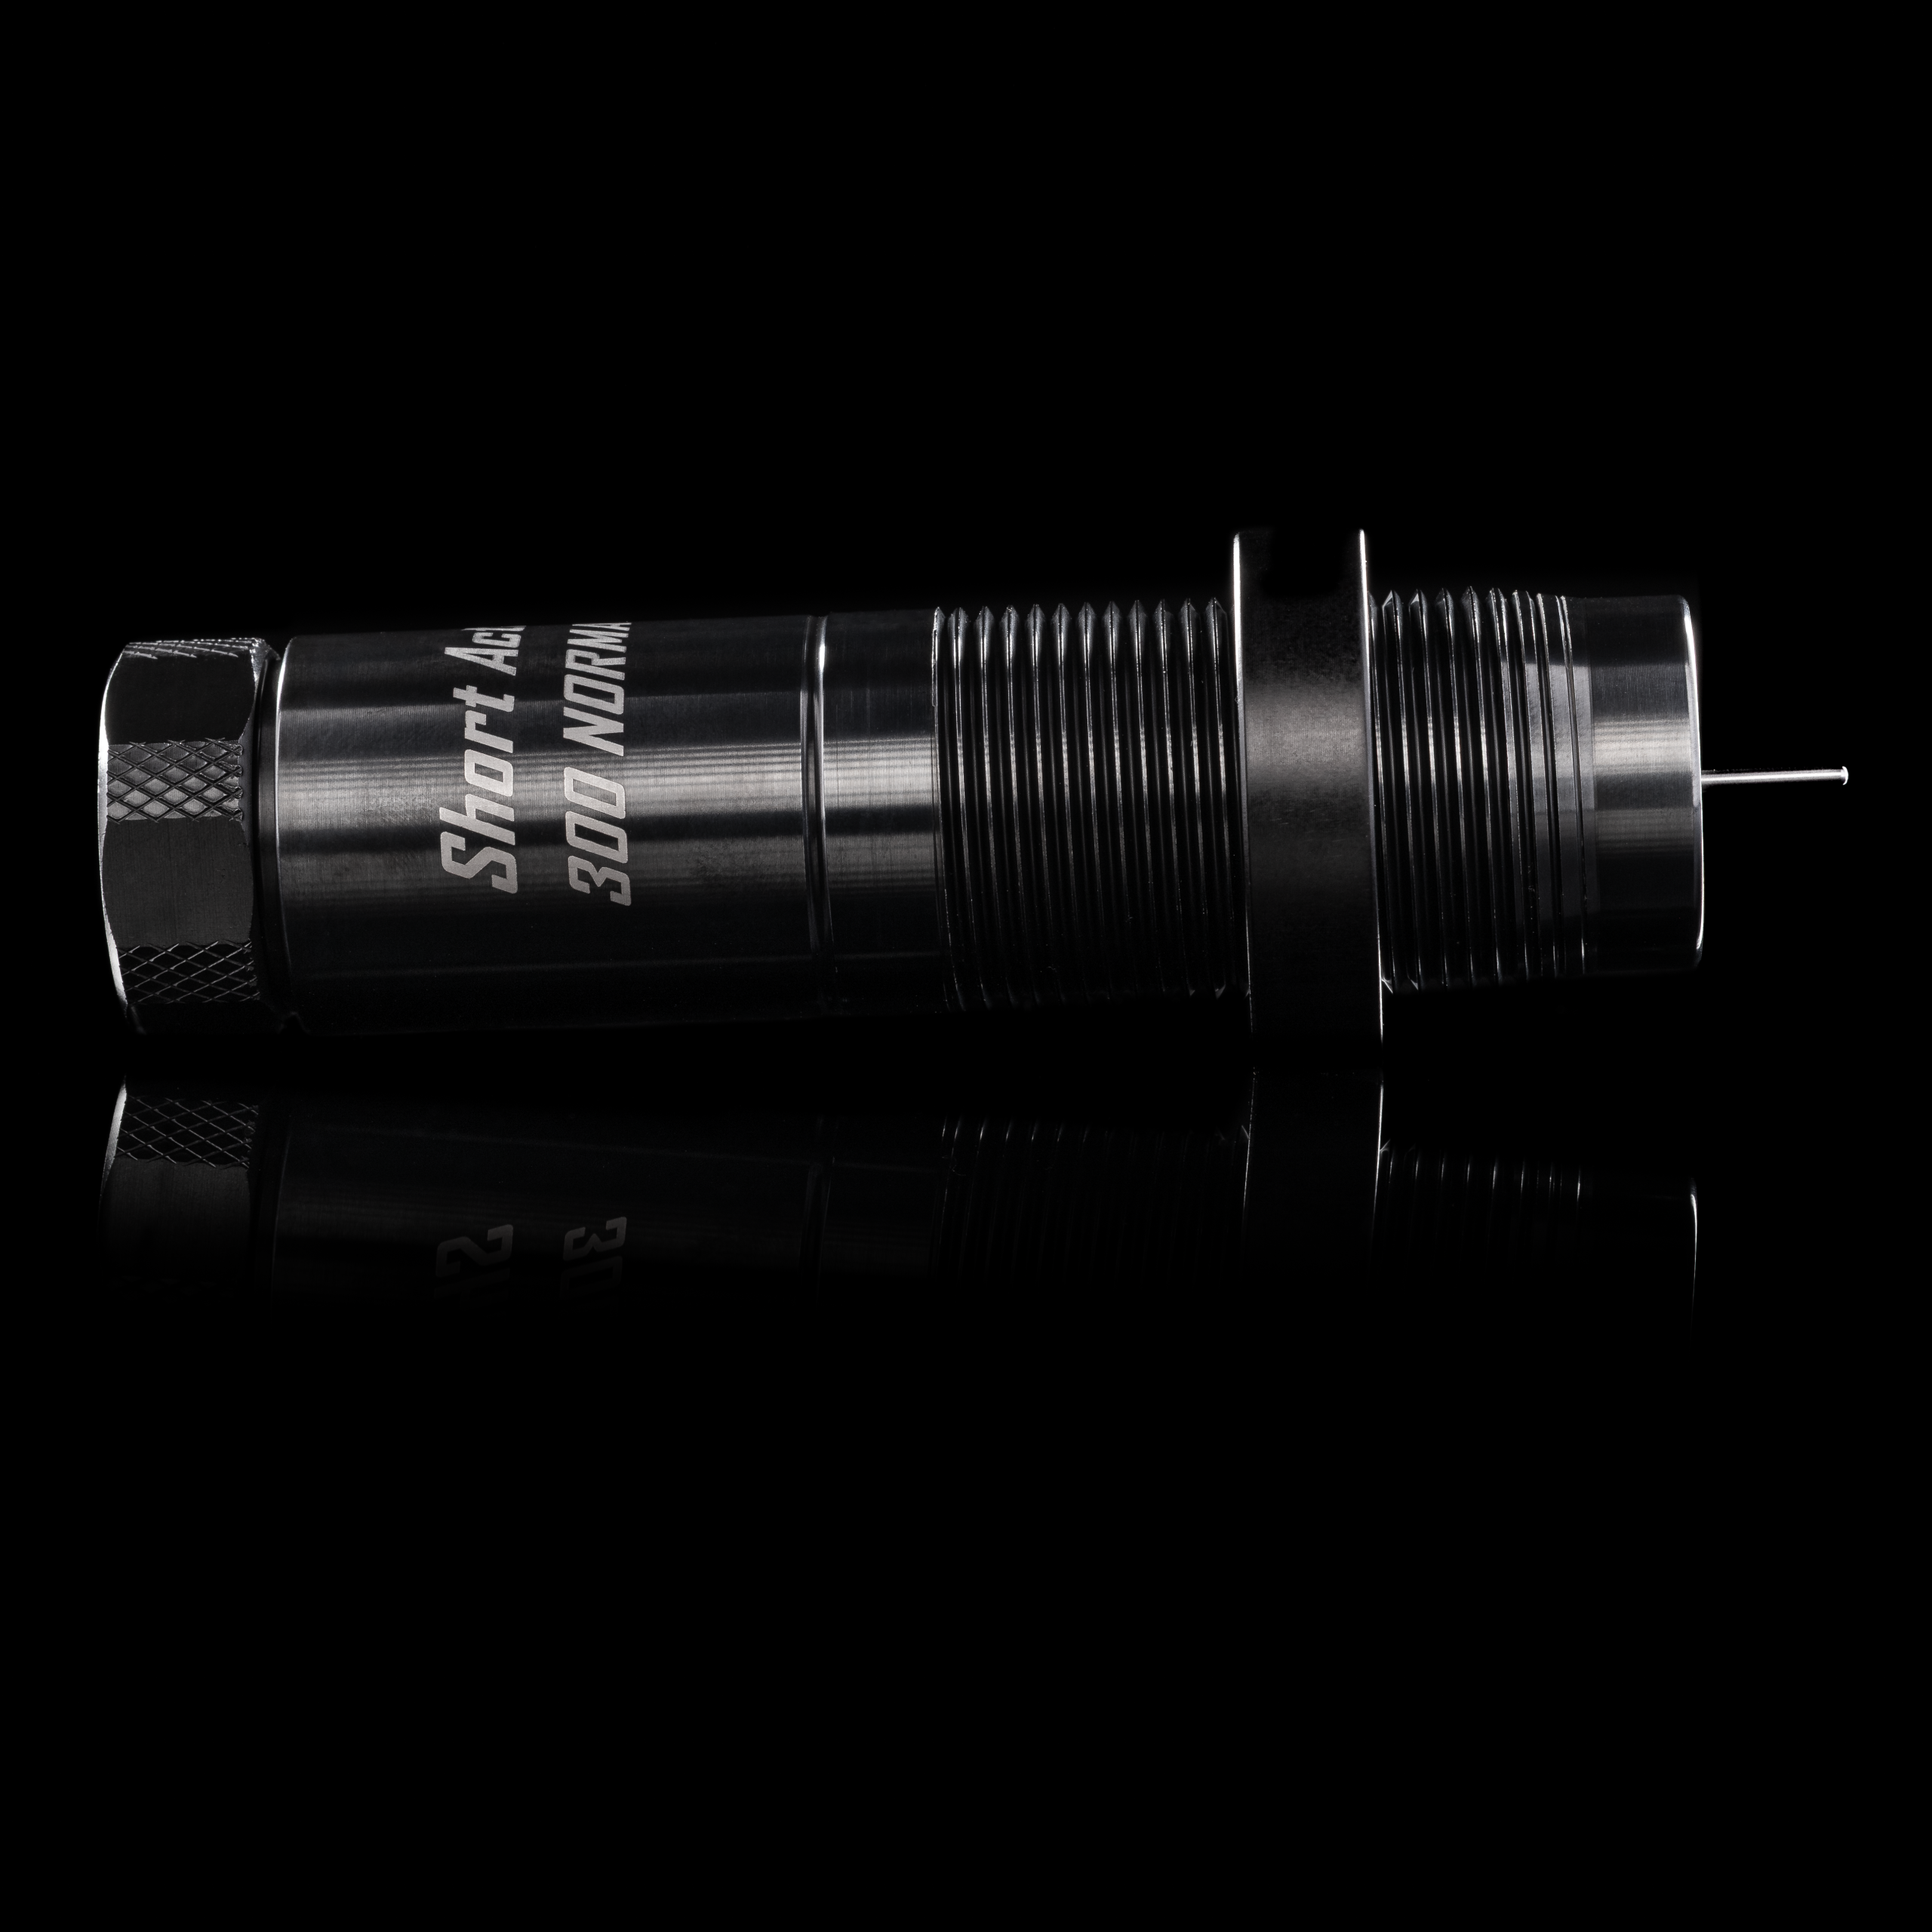

300 Norma Magnum 1″ Modular Sizing Die
PRODUCT SPECIFICATIONS
- Cartridge Family: 300 Norma Magnum
- Supplied Sizing Bushing: 0.332″ (Specified for Lapua 0.014″ brass)
- Supplied Expander Mandrel: 0.3060″ (Provides 0.002 – 0.0025 neck tension in loaded round)
IMPORTANT NOTES
- Short Action Customs Modular Sizing Dies use a proprietary Neck / Shoulder bushing. You can not use a standard Redding / Wilson style bushing in these dies.
- 1″ Solo-Loc Rings are required when using the 1″ Nexus Top Plate, the ring provided for the die is for standard thread in presses
- 1″ Solo-Loc Rings can be found HERE.
- 1″ Nexus Top Plate can be found HERE.
KEY FEATURES
- Sizing Die Body: Proprietary 1″ x 16threads, 17-4 Stainless Steel, with a QPQ Salt Bath Nitride finish for superior lubricity and performance.
- Integrated Decapping Mandrel: High-strength 17-4 H1150 Stainless Steel, with (2) 1144 Stress Proof decapping pins that integrate with the mandrel so they are easily replaceable.
- Knurled Top Cap: Threads secure the Knurled Top Cap to the die body, compressing the new proprietary taper adapter to ensure the utmost concentricity with the integrated decapping mandrel
- Taper Adapter: New Proprietary Taper Adapter design, allows the integrated decapping mandrel to self center in the die with superior concentricity.
- Neck/Shoulder Bushings: New Neck / Shoulder design integrated the entire body / shoulder radius with a small amount of body to ensure every section of brass is getting sized throughout the sizing process.
Follow these steps to set up your Short Action Customs Modular Sizing Die
- Ensure the inside of the resizing die is clean and free of debris. We recommend using a .40 caliber plastic pistol brush with a 12-gauge shotgun patch to clean the inside of the die body.
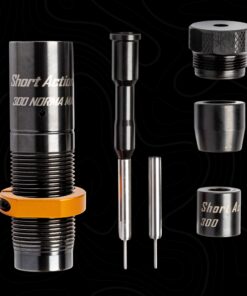
- Assemble your 1″ 300 Norma Magnum die as shown in the picture below.
- With the reloading press ram fully raised, thread the resizing die into the top of the reloading press until the die body touches the shell holder. Lower the ram slightly, then continue threading the die down to achieve a slight “cam over” with the press. Tighten the die body lock ring. For the Area 419 Zero Press, thread your die approximately 1/8″ turn after it touches the shell holder.
- Use a headspace comparator that contacts the shoulder of the brass to establish the fired brass headspace.
- Lubricate a piece of clean, fired brass and cycle it through the Modular Sizing die with a smooth, consistent ram stroke.
- Measure the sized brass and compare it to the fired brass. We recommend reducing the headspace of the fired brass by .001”-.003” for most applications.
- To adjust sized brass headspace, thread the resizing die body into the press more or less. We also recommend using Redding Competition Shell Holders.
What’s in the package
- 1″ 300 Norma Magnum Sizing Die
- Standard black 1″x16 TPI Lock ring
- Knurled Top Cap
- Taper Adapter
- Decapping Mandrel of Customers Choice
- Neck / Shoulder Bushing of Customers Choice
- Plastic Storage Box
| Weight | 0.5 kg |
|---|---|
| Dimensions | 28 × 21 × 11 cm |
Related products
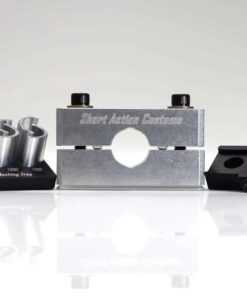
Short Action Customs
$595.00
Short Action Customs
$60.00
Sale!
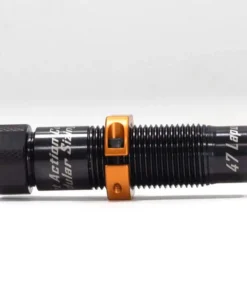
Modular Sizing Dies
6.5×47 Lapua Modular Sizing Die + 0.2610″ Decapping Expander Mandrel
Original price was: $677.00.$625.00Current price is: $625.00.
Short Action Customs
$182.00

Comparators & Funnels
$44.00
Comparators & Funnels
$47.50

Comparators & Funnels
$100.00

Bullet Seating Dies
$83.00