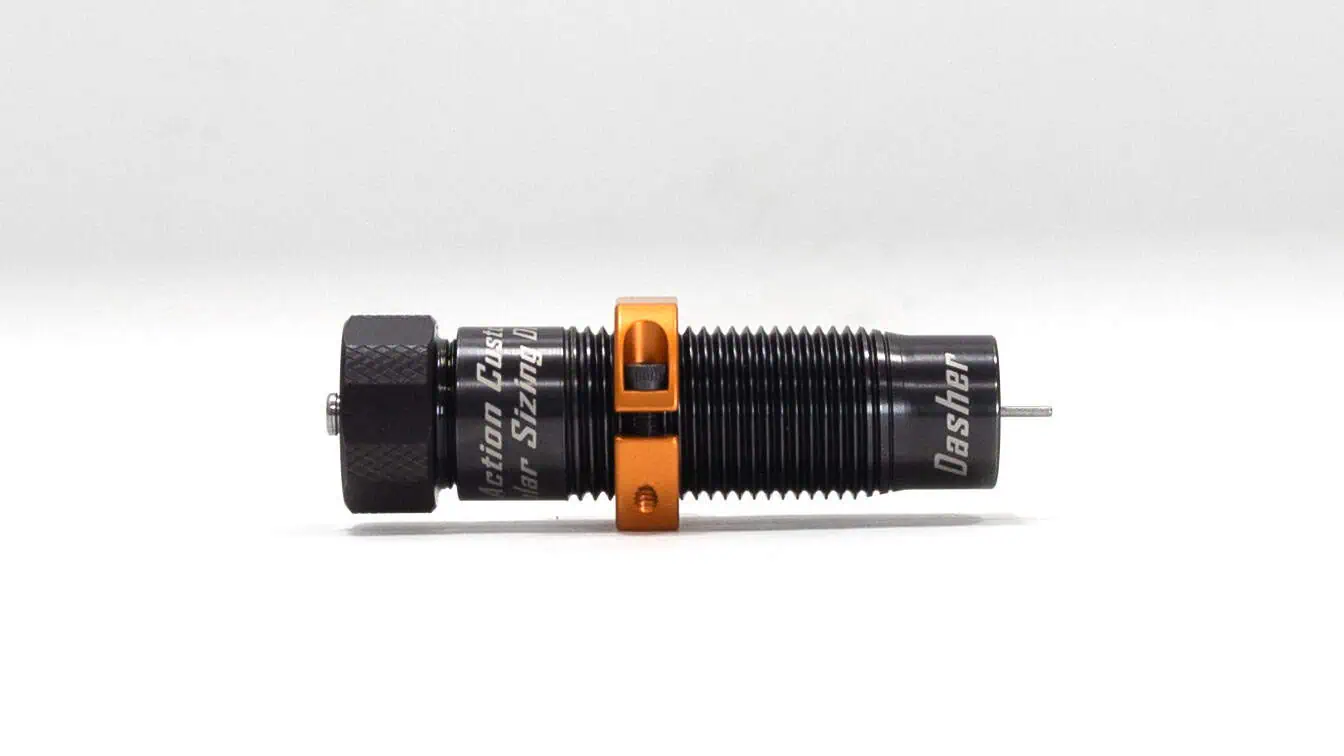
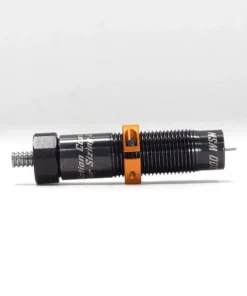
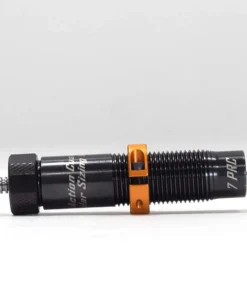
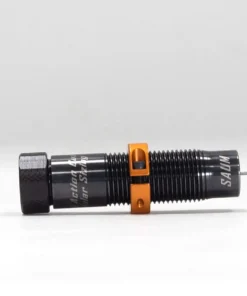
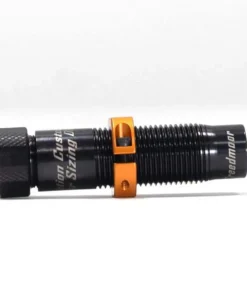
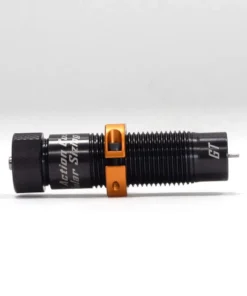
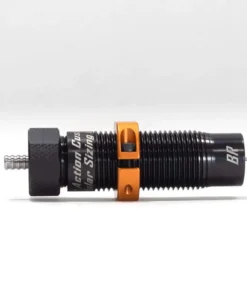
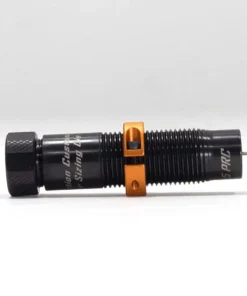
Dasher Modular Sizing Die
PRODUCT SPECIFICATIONS
Cartridge Family: Dasher
Notes: This Modular Sizing Die is intended for chambers reamed with a 0.060″ neck / shoulder radius and a 0.000″ shoulder / body radius specification reamer.
Short Action Customs Modular Sizing Dies use a proprietary Neck / Shoulder bushing. You can not use a standard Redding / Wilson style bushing in these dies. If you do not already have a Short Action Customs bushing to suit the Modular Sizing Die please ensure you order one with your die.
PRODUCT INFORMATION
The Short Action Customs Modular Sizing Dies are used for a family of cartridges. Additional cartridges can be used in the same die by changing out the neck / shoulder bushings, for example between 6mm and 6.5mm Creedmoor or 6×47 and 6.5×47 Lapua etc. Each die is sold with one neck / shoulder bushing of the Customers choice. Please be sure to select the correct bushing from the menu when adding a die to your cart.
- The Modular sizing die sizes more at the base and less at the shoulder compared to traditional resizing dies
- Made from 17-4 H1150 Stainless steel that is then nitrided to obtain the utmost lubricity
- Made in the USA
“The Modular Sizing Die” has a unique design where the cartridge’s body geometry is sized by the die body, the cartridge’s shoulder and neck geometry are sized by a “Neck / Shoulder Bushing”. This allows one die body to be used for a whole cartridge family.
Furthermore, the Modular Sizing Dies are precision machined with the main focus of properly sizing your fired brass. Our resizing dies will size the base of the cartridge slightly more than the shoulder.
After studying precision CNC machines and tooling, we designed the Modular Sizing Die to utilize a series of shallow tapers, not threads to properly center and secure the Solid Decapping Pin. Our tapered geometry offers unparalleled concentricity and repeatability.
Last but not least, we designed the cartridge sizing geometry to size a little more at the base and a little less at the shoulder when compared to most resizing dies on the market. In properly sized rifle chambers, this helps eliminate extraction issues of fired brass. Our shoulder sizing geometry and helps minimize case runout and over working of the brass by not sizing the shoulder too much.
MODULAR SIZING DIE CONSTRUCTION
- Modular Sizing Die Body: Standard 7/8 x 14 threads, 17-4 Stainless Steel, Special Salt Bath Nitride finish for increased lubricity and performance compared to other resizing dies on the market.
- Solid Decapping pin: Designed to be slightly smaller than bullet diameter, the Solid Decapping Pin WILL NOT expand sized necks, however, will fix dented necks, increasing neck uniformity. Utilizing a .058” nominal diameter pin tip to fit in small primer flash-holes. The Solid Decapping Pin can be set to any pin tip protrusion or by simply adjusting the wide mouth retaining clips position.
- Knurled ER11 Top Cap: 3/4 x 24 Threads tighten the Knurled ER11 Top Cap into the die body, compressing the supplied ER11 collet which properly secures the Decapping Pin or Expander Mandrel ensuring the utmost concentricity.
- ER11 Collet: Commercially available ER11 collet to secure a variety of Decapping Pin and Expander Mandrel diameters.
- Taper Adapter: When the Knurled ER11 Top Cap is threaded into the die body, it seats the ER11 Collet into the Taper Adapter, in turn securing the Decapping Pin or expander mandrel. The Taper Adapter sits directly above the Neck / Shoulder Sizing Bushing, allowing the Neck / Shoulder Sizing Bushing to float.
- Neck / Shoulder Bushings: Available in many caliber specific neck diameters. Special .001” shims can be placed above the Neck / Shoulder Bushing to adjust headspace without threading the die in or out like a traditional die.
TO SET UP YOUR SAC MODULAR SIZING DIE FOLLOW THESE INITIAL STEPS
- Ensure the inside of the resizing die is clean and free of debris. We like to use a .40 caliber plastic pistol brush with a 12 gauge shotgun patch to clean out the inside of the die body.
- Assemble your Modular die similarly to the picture below.

- With the reloading press ram all the way up, thread the resizing die into the top of the reloading press and continue to thread down until the die body touches the shell holder. Next, lower the ram and thread the die down slightly enough to achieve a little bit of “cam over” with the press. Tighten down the die body lock ring. If using the Area 419 Zero Press we recommend threading in your die approximately 1/8″ of a turn after your die touches the shell holder.
- Using a headspace comparator that contacts the shoulder of the brass, establish the fired brass headspace.
- Next, lubricate a piece of clean, fired brass and cycle it through the Modular Sizing die in a smooth, consistent ram stroke.
- Measure your sized brass and compare it to the fired brass. We recommend reducing the headspace of the fired brass .001”-.003” for most shooting applications.
- In order to increase or decrease sized brass headspace. Thread the resizing die body into the press more, or less. The use of Redding Competition Shell Holders is also recommended. Another way to adjust headspace is to remove or install custom .001″ shims supplied with your die between the “Neck/Shoulder Bushing” and the “Taper Adapter”.
| Weight | 0.5 kg |
|---|---|
| Dimensions | 28 × 21 × 11 cm |
Related products
Modular Sizing Dies
Modular Sizing Dies
Modular Sizing Dies
7 PRC Modular Sizing DIe + 0.2810″ Decapping Expander Mandrel
Short Action Customs
Modular Sizing Dies
Short Action Customs
Modular Sizing Dies
Modular Sizing Dies
6.5 PRC Modular Sizing Die + 0.2610″ Decapping Expander Mandrel

